

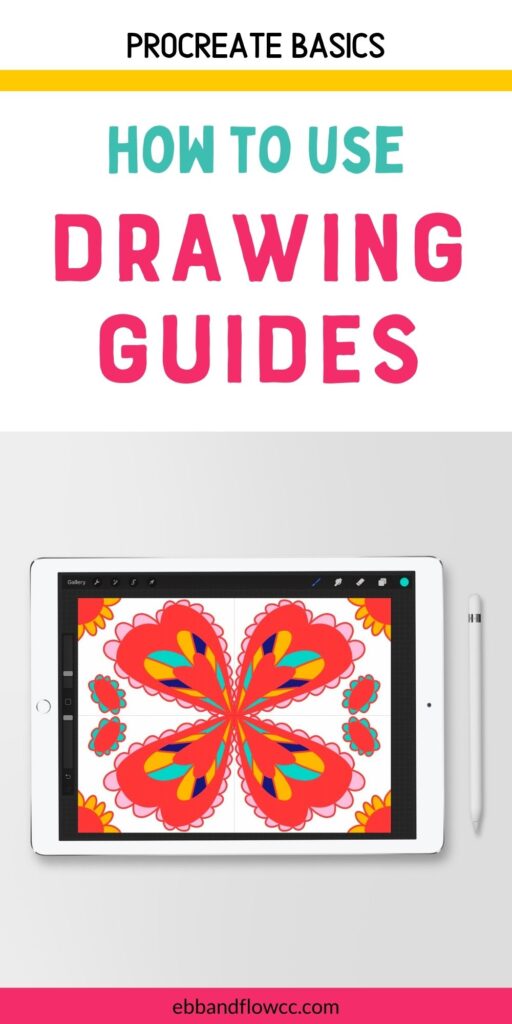
how to draw over a picture in procreate
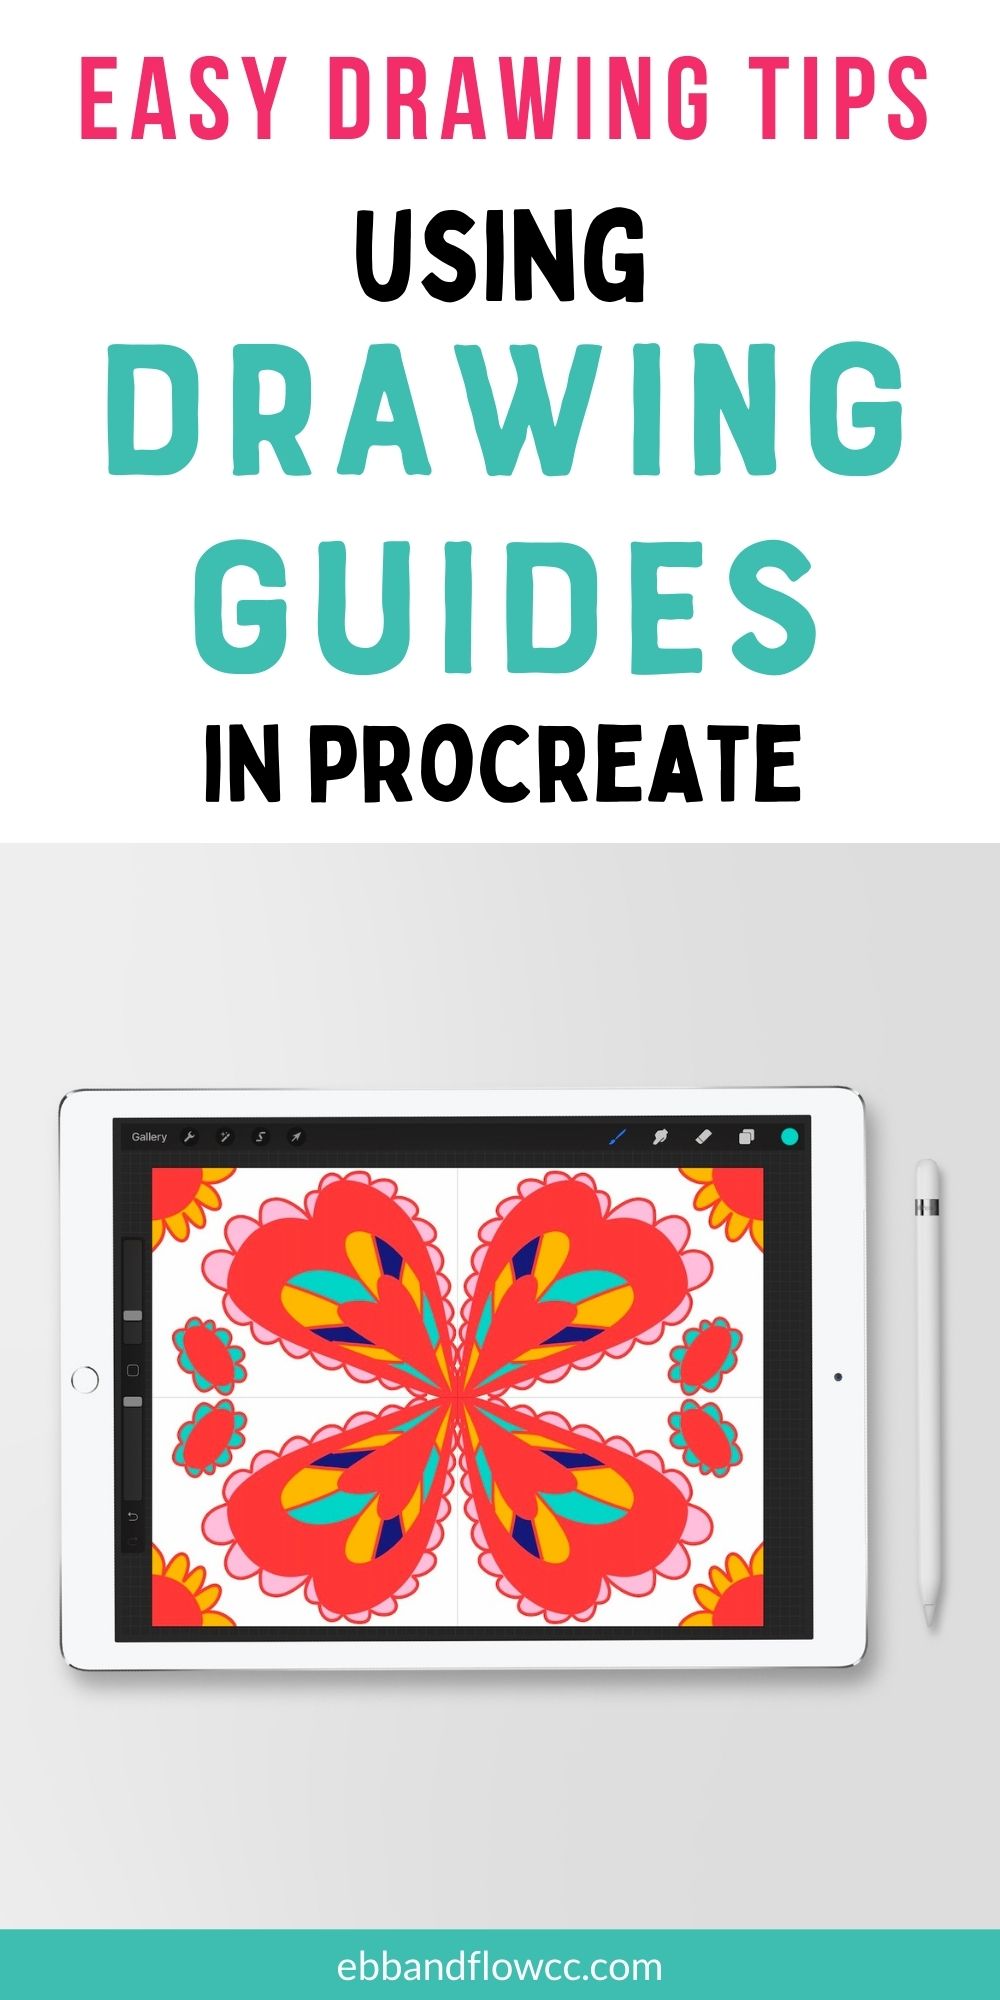
Make cartoon easier past learning how to use the cartoon guides in Procreate.
Learn more than most Procreate here.
This post contains chapter links. By purchasing an particular through an affiliate link, I earn a small commission at no extra cost to you. Every bit an Amazon Associate I earn from qualifying purchases.
This is part of my series on how to use Procreate.
Reasons to Use Cartoon Guides in Procreate
- Learning to draw a new object. Using grids is a corking style to describe a new object. You can use a reference photo with the same grids and fill in each grid as you go. This is a great option for complicated items.
- Alignment. I often apply grids to help with alignment. It's peachy for lettering where I want all of my letters the same superlative and width.
- Perspective Grids. The perspective grids make it easier to become a landscape or cityscape correct.
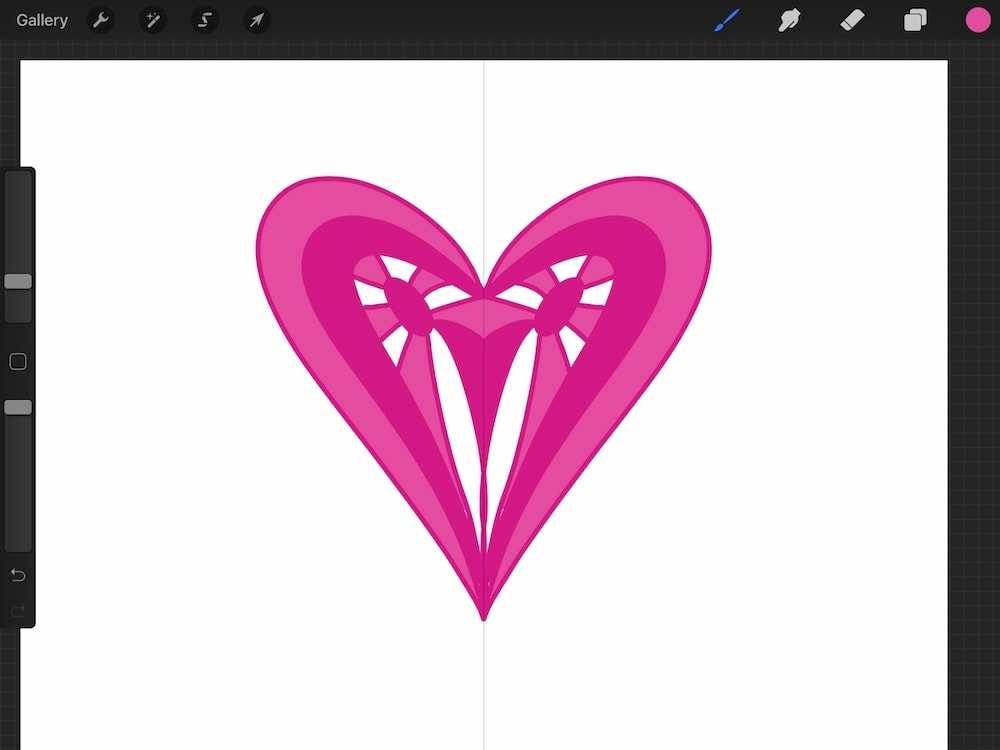
- Symmetry Grids. The symmetry grids are so much fun to use. They make information technology easy to draw something that yous want to be symmetrical (like a butterfly or heart.)

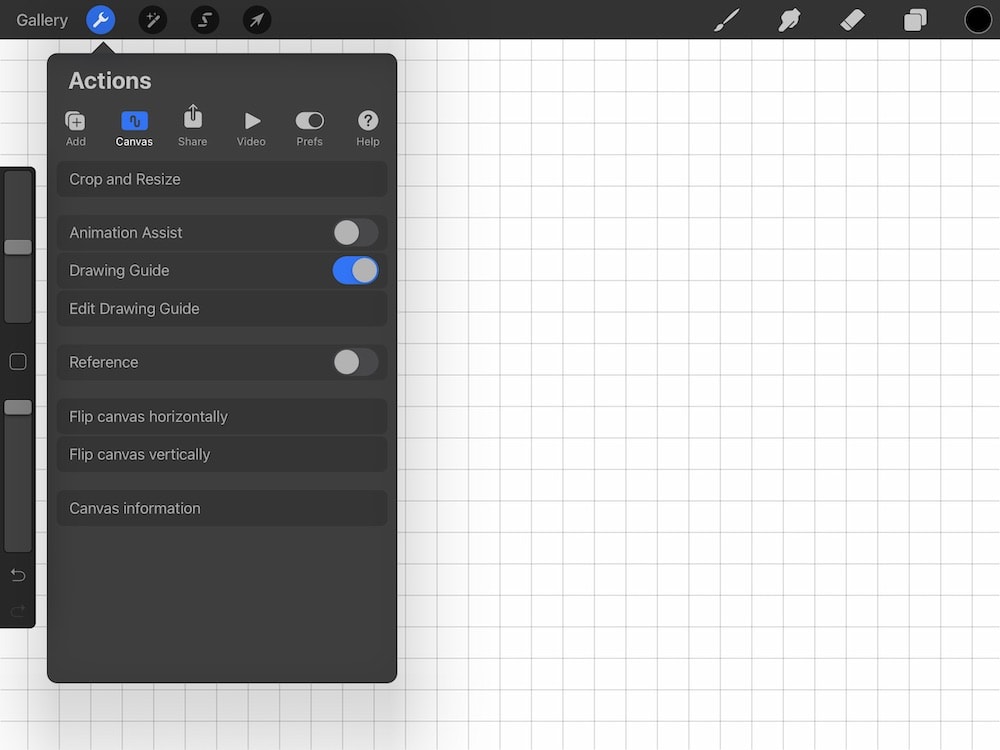
Using the Drawing Guide in Procreate
The drawing guide tin exist accessed in the Canvas panel in the Actions bill of fare (wrench icon at the top left of the screen.) Toggle information technology on to edit the cartoon guide.
It can also be turned on in the layers console.

If you lot use a cartoon guide for a canvas, Procreate will remember the settings. Y'all will have to turn on the drawing assistance for each layer though.
You tin can use multiple types of guides in a single canvas.
Edit Drawing Guide
This carte du jour will let you to choose your drawing guide preferences.
Apply the blue node to reposition the filigree. The light-green node at the elevation can be used to rotate the filigree.
You tin can reset the filigree by borer a node and clicking "reset."
second Grid
The 2nd grid is a standard square filigree used for apartment illustrations.

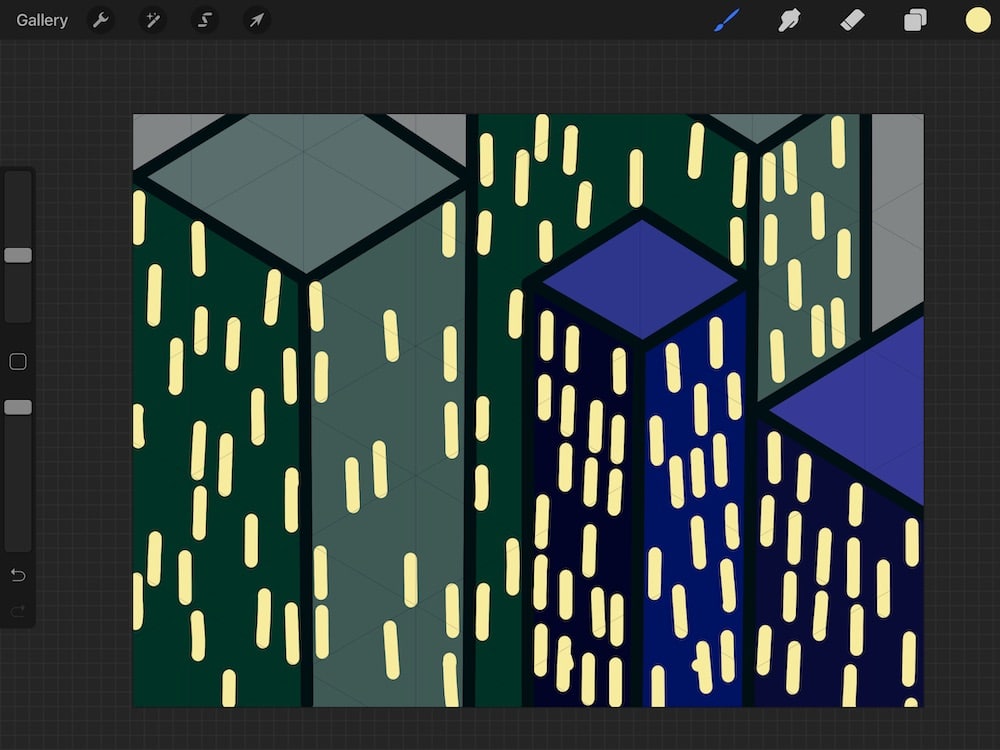
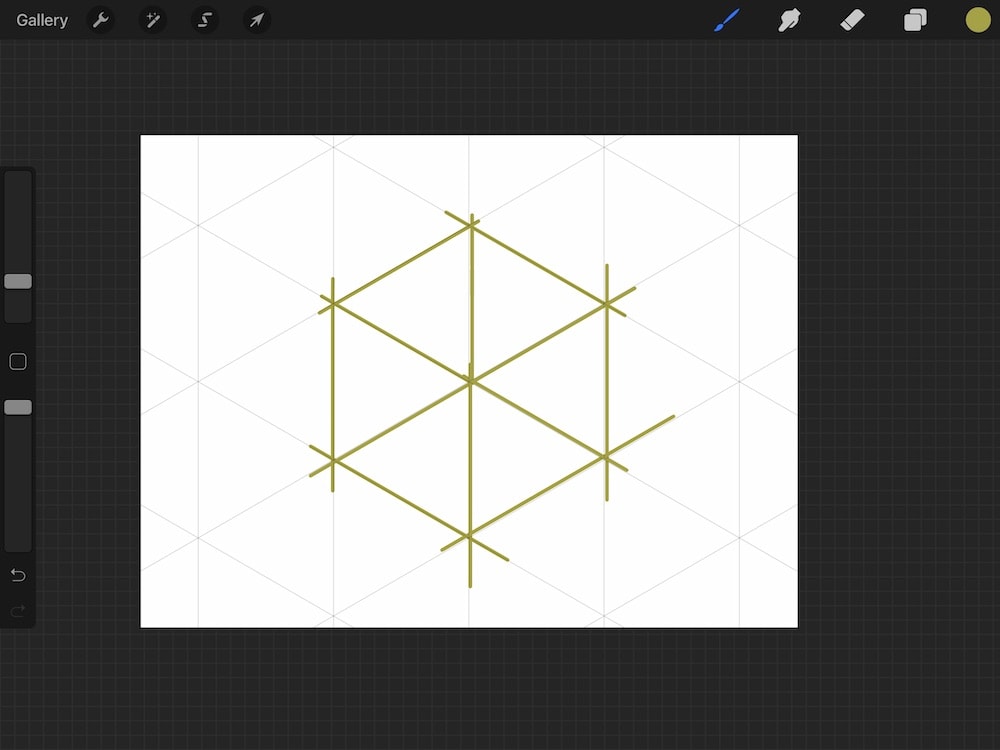
Isometric
The isometric grid is fabricated of triangles and used for 3D illustration. Information technology works pretty well for a simple cityscape.
Perspective
The perspective grid is perfect for landscapes and cityscapes.

You place your horizon line and can add multiple points for one-indicate, ii-betoken, or three-point perspective.

Symmetry
Symmetry grids are used to mirror your art.
Vertical
A vertical filigree mirrors your art on the other side of the sheet. By default, it is centered on the canvas, but you can utilize the nodes to motion or rotate the grid as well.
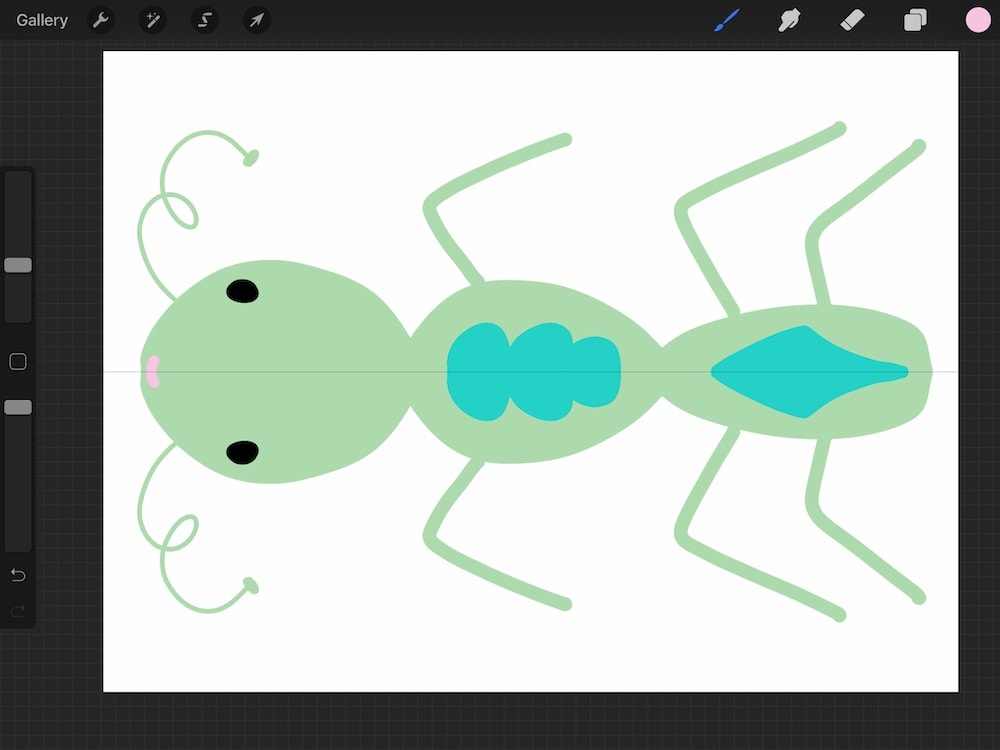
Horizontal
A horizontal grid mirrors your art on the other side of the sail. Similar the vertical grid, it is centered on the sheet, merely you tin use the nodes to move or rotate the grid equally well.
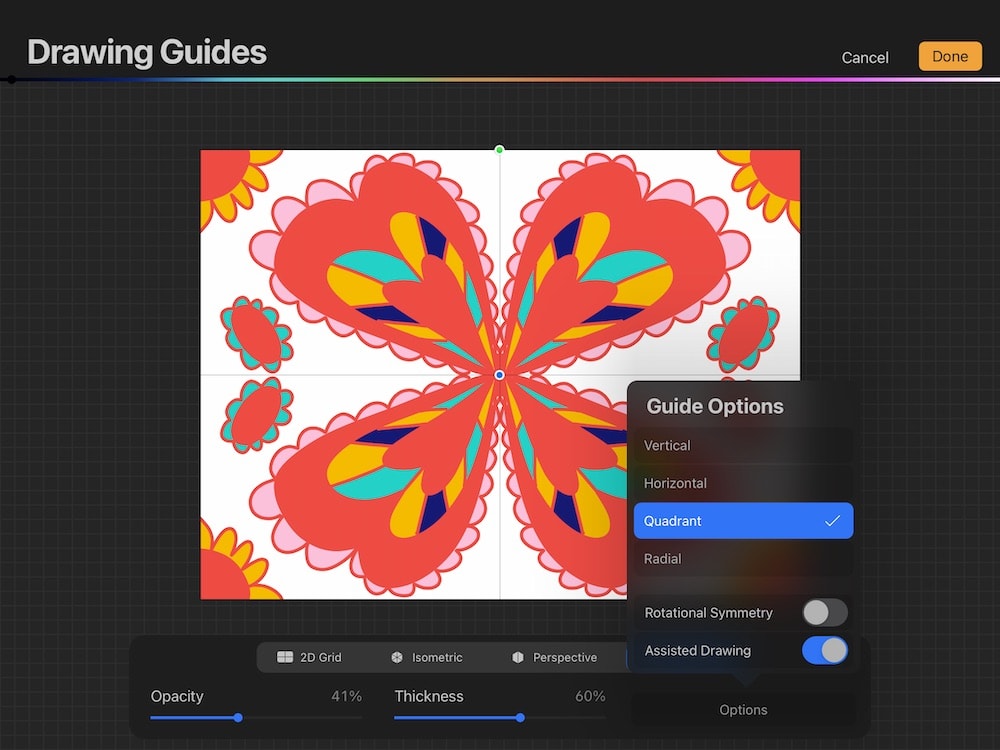
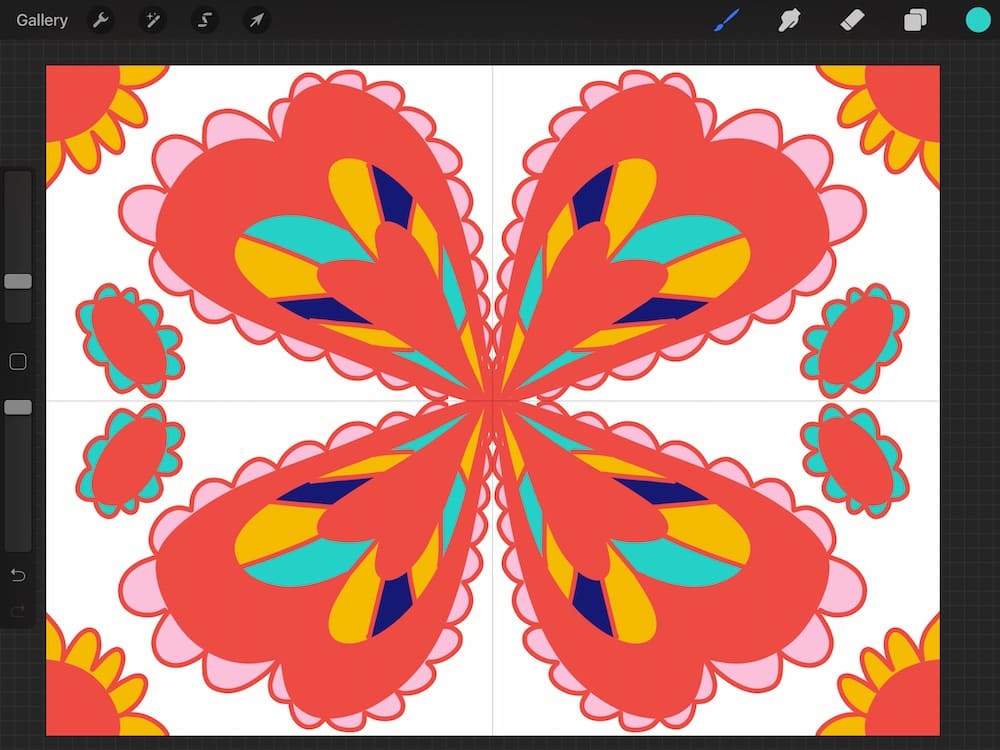
Quadrant
A quadrant grid splits the canvass into 4 and uses both horizontal and vertical grids to mirror your art piece of work. What you draw in one quadrant will announced in all four quadrants.
Radial
A radial filigree splits the canvass into 8 pieces (the horizontal, vertical, and diagonals).

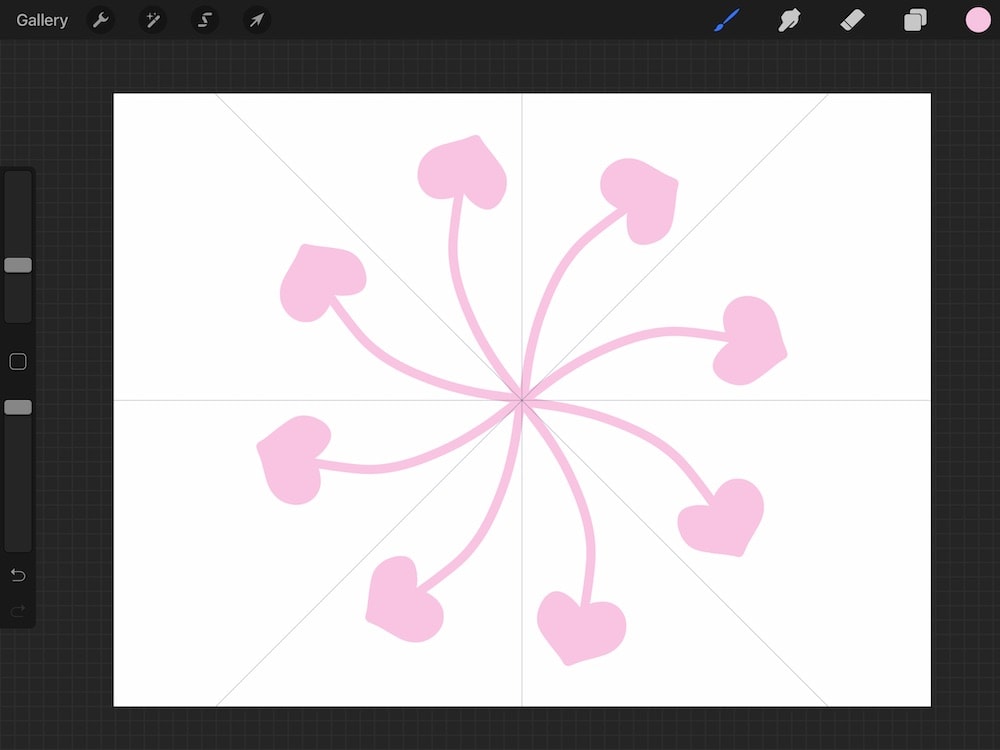
Rotational Symmetry
You have the pick to toggle on rotational symmetry. Without it on, the symmetry grids mirror your art.

With rotational symmetry on, it rotates the art in each grid from the heart.
Assisted Drawing
Drawing assistance can be found in a few places and does a few different things.
If your grids aren't producing symmetrical drawings, make sure that the layer has drawing assist turned on in the layers console.
It can too help your drawing snap to the grids.
Keep in heed that information technology will but let you to draw using your filigree when this is on. If you are using a 2nd grid, it allows you to make perfectly straight horizontal and vertical lines only.
Turn it off to depict without the guides in place.
Grid Options
These options let you to alter the mode the grids appear.
Opacity
This changes the transparency of the grid.
Thickness
This changes the thickness of the grid lines.
Filigree Size
Yous can change the grid size to be smaller or larger. You lot can also recenter it with the blue node in the heart of the canvas.
This only works with 2D and isometric grids.
Color
You can also modify the color of the grid. You can change this in the colored slider at the meridian of the screen.
If your grid isn't showing up, you probably accidentally ready information technology to be pale pink when yous were trying to click done.
Quickshape
Procreate also has the ability to brand perfect shapes including directly lines, rectangles, triangles, circles, and curves.
How to Utilize Quickshape
Draw the shape and concur the pencil for a 2nd.
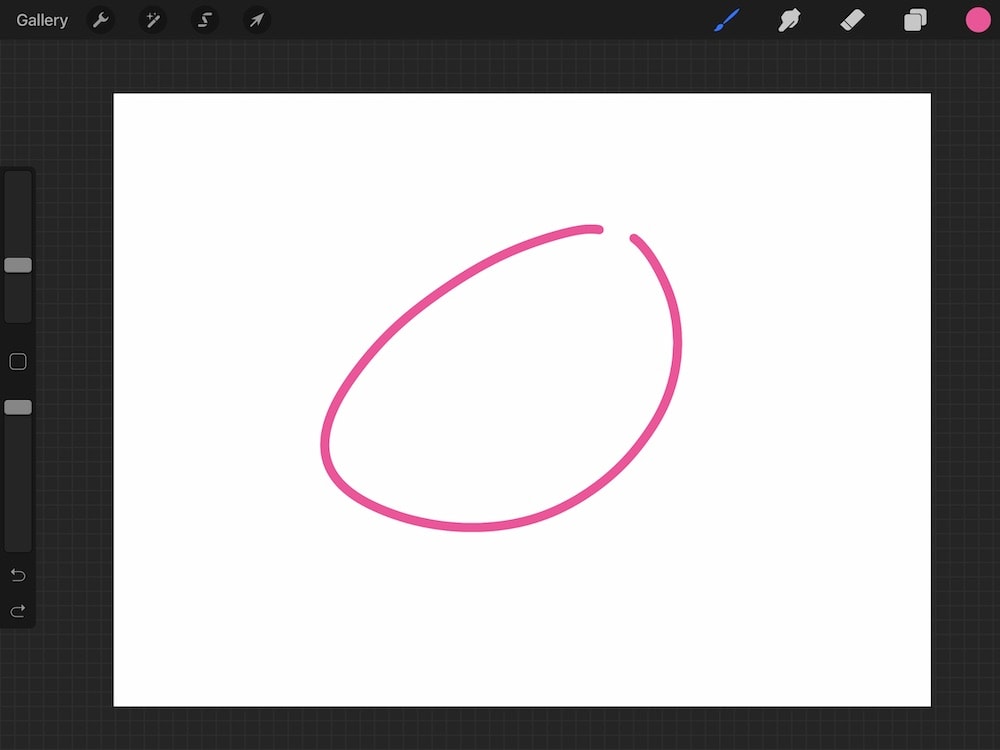
The shape volition turn into a perfect shape. You lot can modify the size during this time.
If y'all're drawing a straight line, you can shorten or lengthen the line, as well as brand it angled from the starting point.
How to Make Perfectly Equal Shapes
To create a perfect circle, foursquare, or equilateral triangle, depict the shape and agree it to make a quickshape. So identify a 2d finger on the screen to make a perfect shape.
For lines, this will permit you to rotate the line from the staring point in 45º increments.
How to Make Scale Rotate Shapes
When making your shape, hold it equally usual, simply don't let go. Accommodate the scale or rotate the shape by dragging it.
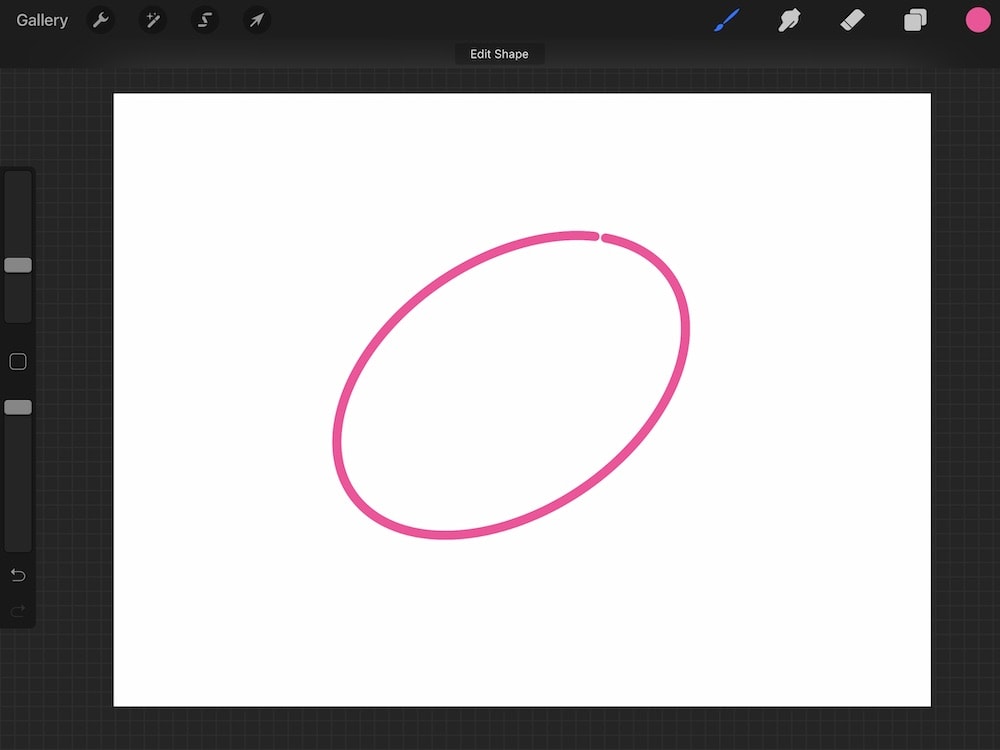
How to Edit Shapes
Later creating a shape (and letting go) the superlative of the screen will say "edit shape."
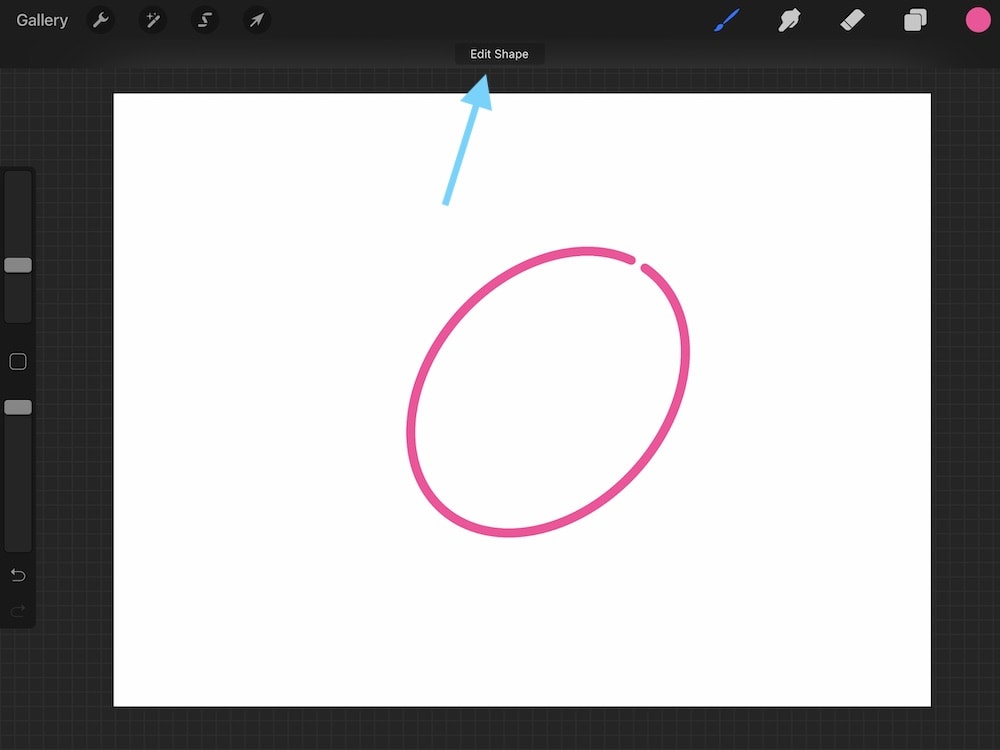
Click that and your shape volition have blue nodes that can be dragged to adjust the shape.

You lot also have options to make information technology a unlike shape.
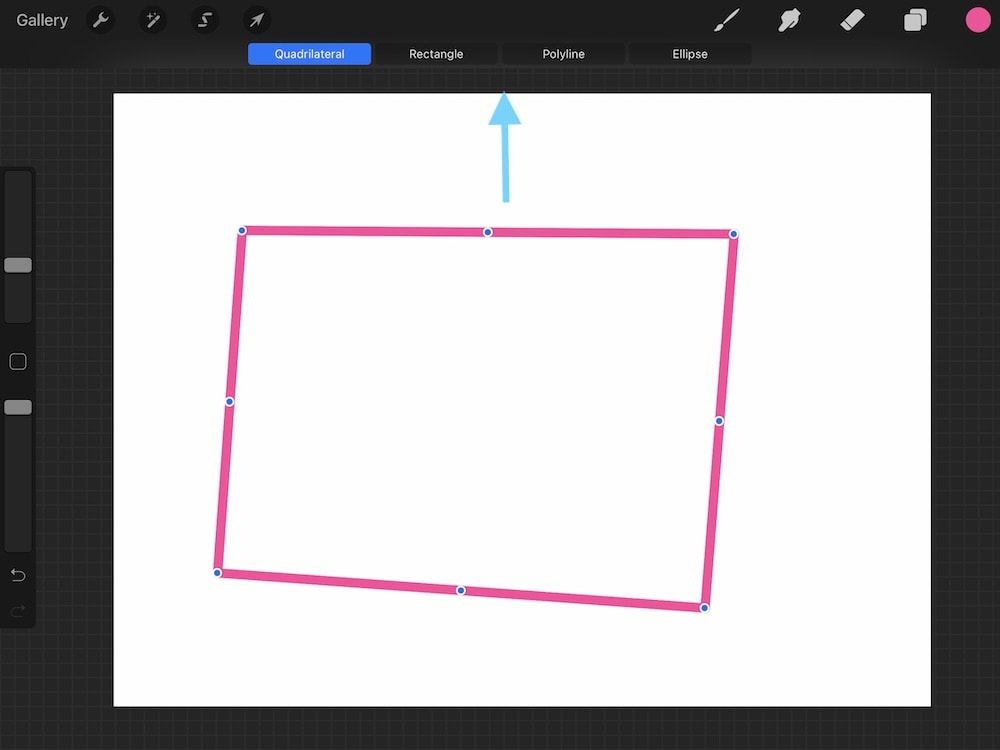
You can scale or rotate the shape during this step by dragging between the nodes.
Tap the canvas to have the changes.
You might likewise similar:
- Using Adjustments in Procreate
- Using Choice and Transform in Procreate
- How to Import Brushes
- Making Animations with Procreate
- Adding Text to Procreate Drawings
Pin for Later!


Source: https://ebbandflowcc.com/drawing-guides-procreate/
Posted by: henleymoures.blogspot.com
0 Response to "how to draw over a picture in procreate"
Post a Comment